Tuesday, May 22, 2018

And so the assembly work begins

Vince got started on assembly work while Ray is out of town.  We also have a friend named Greg who is interested in buying the car, and is willing to come help with the assembly process. 

So Vince and Greg worked today - Vince on doors and Greg on trunk and rear lights.  Greg got the trunk cleaned up and the rear lights installed (well, only one works but we'll get that worked out).  Here's Greg with the lights:


Vince has done a lot of work on doors, sometimes even earning the nickname "the door man".  He got the driver's door done (vent window, rollup window and regulator, all rubber plus lock/handle mechanisms).  Passenger side almost complete, needs rollup window to be installed.  Here's a view of that driver's door:


All going very well so far.

Friday, May 4, 2018

Painting Done!

A major milestone, the paint is done!  Here's four pictures that Ray took 5/3 at Darrell's:


Monday, April 30, 2018

Change in Plans

We decided to switch body shops, going with our old standby Darrell Smith.  So on March 30 Ray and Dave Mullen moved the car to Darrell's shop.

Darrell has had a slow start, but is now moving much quicker on the car.  He's got the bodywork done, and has started primer.  Ray stopped by April 26 and took these pictures:


Darrell thinks he will get the car painted this first week in May.  We look forward to getting the car back and starting the fun job of re-assembly.  Vince has been out of town, but Ray has received a shipment of lots of small parts for putting the car back together.

Sunday, March 11, 2018

Delivered to Baize's Body Shop

On Friday March 9 we delivered the car to Stan Baize.  Here's some pics:

Car fired up and Ray drove it onto Dave's trailer which we borrowed.  Ran good.


Stan estimates 6 to 8 weeks to get the car painted.  He also pointed out some "ripples" in our bodywork.  He claims is takes ten years for someone to get really good at eliminating these ripples.  We don't have ten years, so we'll let him finish it up for us.


Friday, March 2, 2018

Getting Ready for Paint Shop

The progress since mid January has been focused on getting the body panels ready for paint.  This does not tend to provide great photos, so it's been a while for updates although we've both been working hard.  Plus both of us got to enjoy extended vacations in Florida to avoid the cold weather, very nice.

We got the trunk lid and hood installed with decent gaps and the ability to close and latch both of them.  This did require that the trunk lid rubber seal be modified to make the trunk lid fit better relative to the body.

We removed all four wheels and applied rubberized undercoating to the wheel wells.  This turned out real well.

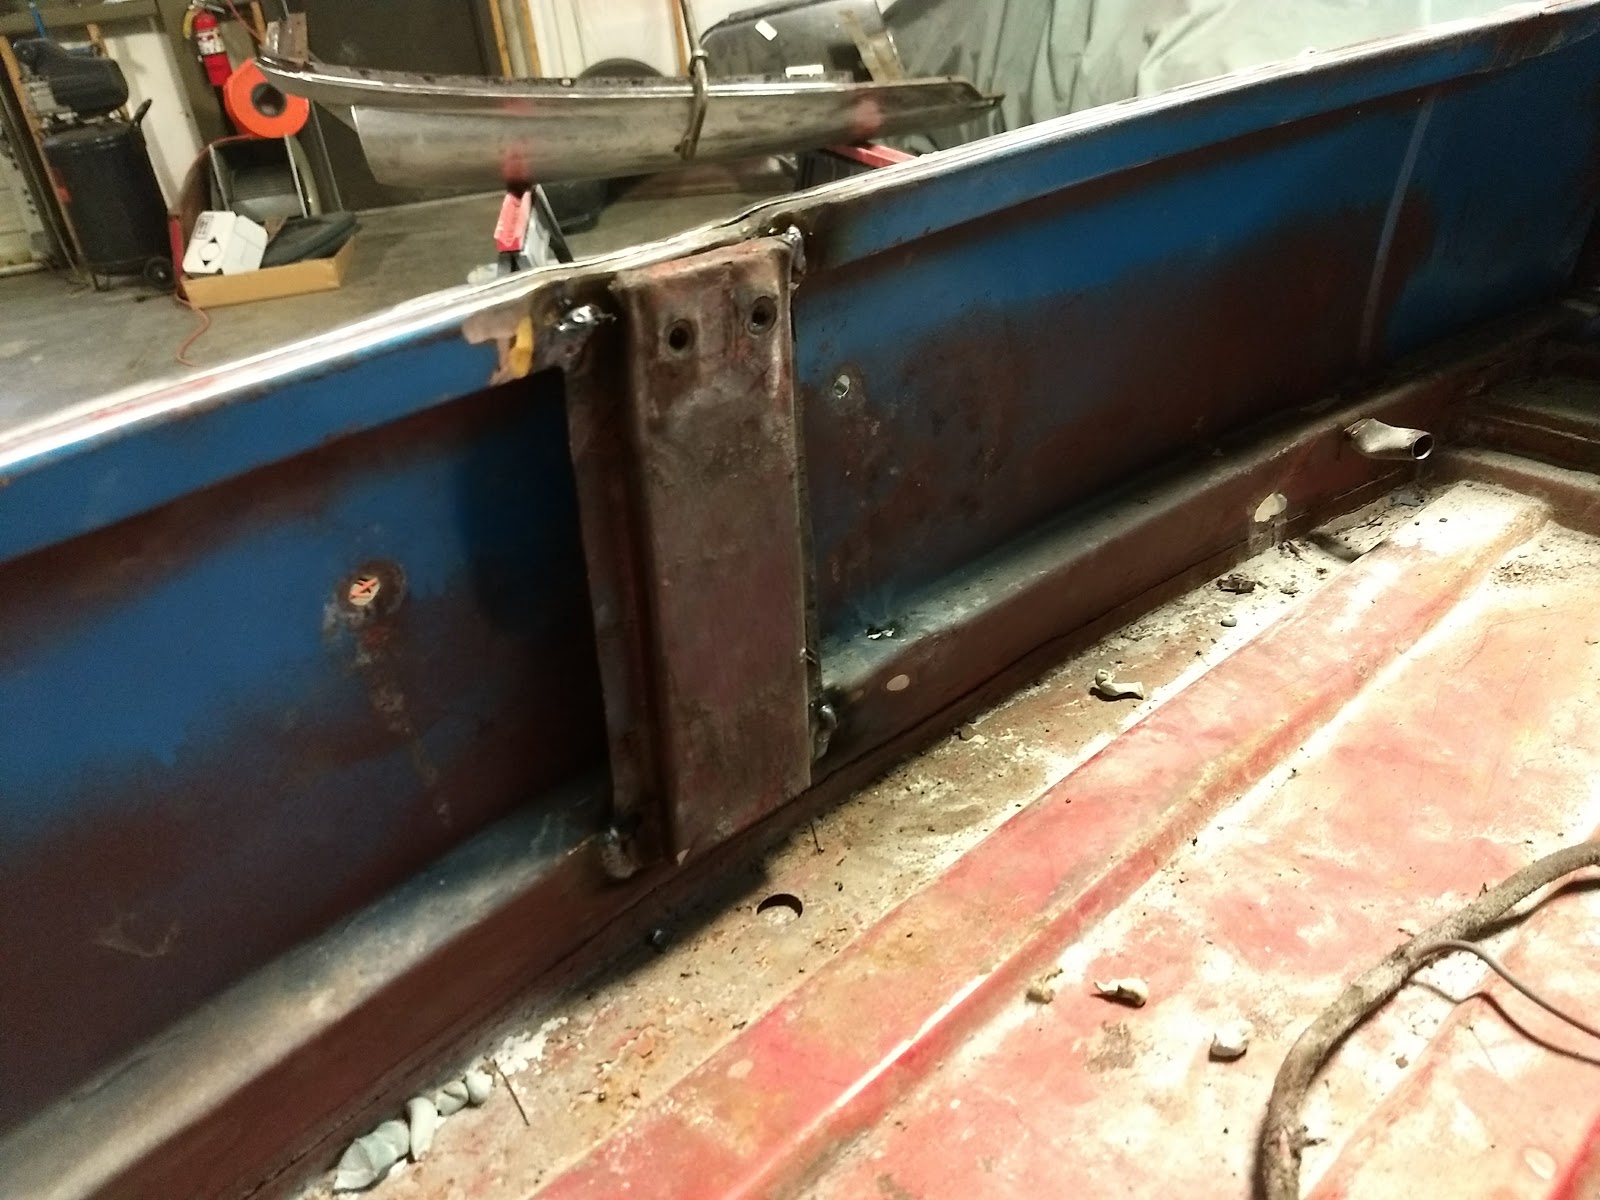
From here it's basically been a matter of getting the panels ready for paint.  Lot of applications of body filler and then sanding it smooth again.  We have learned a lot about sanding, especially the importance of getting the surface flat.  We had been using an orbital sander in some places because it removes the filler very quickly.  But orbital sanders do not maintain a flat surface.  So now we are using an air sander with a 2.5 inch by 16 inch flat platen or block sanding.

We have had two body guys stop by to give us quotes to paint the car.  Our intention is to get the body fully ready for paint plus paint the door jambs, inside trunk, and inside hood ourselves.  This only leaves the outside surfaces.

We bought some single stage paint from our local supplier.  He used the inside surface of the trunk to get a reading of the color to match it.  Could have used the original paint spec, but cost per quart dropped by factor of 5X by having them match the paint.  Here's the paint we got:


We then are suing a Preval paint system to apply the paint.  Kinda neat, you mix the paint, hardener, and reducer all in the glass bottle at the bottom of the device, then use it like a rattle can to apply the paint.  Here's a picture of the Preval device:


Then here are pictures of the hood underside, area around hood opening, and inside trunk:


We plan on loading the car up next week and delivering it to our selected body shop.  We are waiting for one more quote, but we're pretty sure who we are going with.  Costs for painting are a little higher than what we wanted, but we think we're still OK on our overall costs and can make a few bucks.

For what it's worth, there was a tartan red 1964 MGB just like this one that was auctioned 2/13/18 on Bring A Trailer (BAT).  It was probably a nicer restoration than ours, but not a whole lot nicer.  It sold for $20,250!  Here's a link:

https://bringatrailer.com/listing/1964-mg-mgb-10/


Tuesday, January 16, 2018

Starting Reassembly

Only had one day with time available to work this week, unfortunately today the outside temp never got above 10 degrees!  Ray's furnace does a pretty good job, got the shop up to 60 degrees in about an hour.  No one had cleaned the snow for me either:


Oh well.

Today was some cleanup from the completed welding and then begin installing the front fenders.  Both fenders are in place with all bolts installed but most of them loose.  Here's how the front door gaps look in this condition:


I am pleased with the gaps.  I then laid the hood in place to make sure it's a good fit, this is not the original hood although it is aluminum like other early cars.  I think the hood fit is also going to be just fine:


Hood is just laid in place but I can tell once the hinge screws are in we will be able to get very nice gaps here too.


Thursday, January 11, 2018

Welding Complete!

Today was a major milestone.  Our welder, Nick, has completed his tasks!  And I am very pleased with his work.

The driver's side rocker panel had to have a patch piece put in to bridge from the top rear of the rocker to the rear fender.  This turns out very well:


Nick then welded the rest of the rocker in place both top and bottom.  Then he went back to both sides and did the last step on rocker welding - welding the filler pieces we fabricated to the original rails at the sides.  Here's some views of these pieces.

Drivers side, front then rear:


Passenger side, front then rear:


After application of undercoating the prior gaping openings behind the rockers will be completely enclosed and look like when the car was new.

Two other minor weld jobs - driver's side door "crack of doom" (backed up by extra metal like other side):


And then the trunk latch retainer:


I also got the rubber pieces installed on the front splash panels that are under the front fenders:


I've had the front fenders on/off several times checking alignment and gaps.  I am really glad we left the doors in place so we could manage door gaps when installing rockers. 

Time to now install all major body panels (front fenders, hood, and trunk lid) to make sure of good gaps and complete the body filler process.