Friday, December 22, 2017

Welding close to being done

One major challenge we had was on the jack points.  I made the "mistake" of inserting the MGB jack into our re-attached jack point and we saw it bend before the tires were off the ground.  Not good.  So we went back to the drawing board and created more structure for the jack points, including buying a 24 inch piece of 1/2 inch U channel as raw material.  Here's what we ended up with:


In the far right portion of the above shot you can see the portion that goes straight up to the "beam" in the car.  Then the jack point tended to rotate CCW in this view when using the jack so we put the additional piece of channel tying back to the body cross member.  Problem solved, here's a picture to prove that the jack will now lift the car without the jack point deflecting:


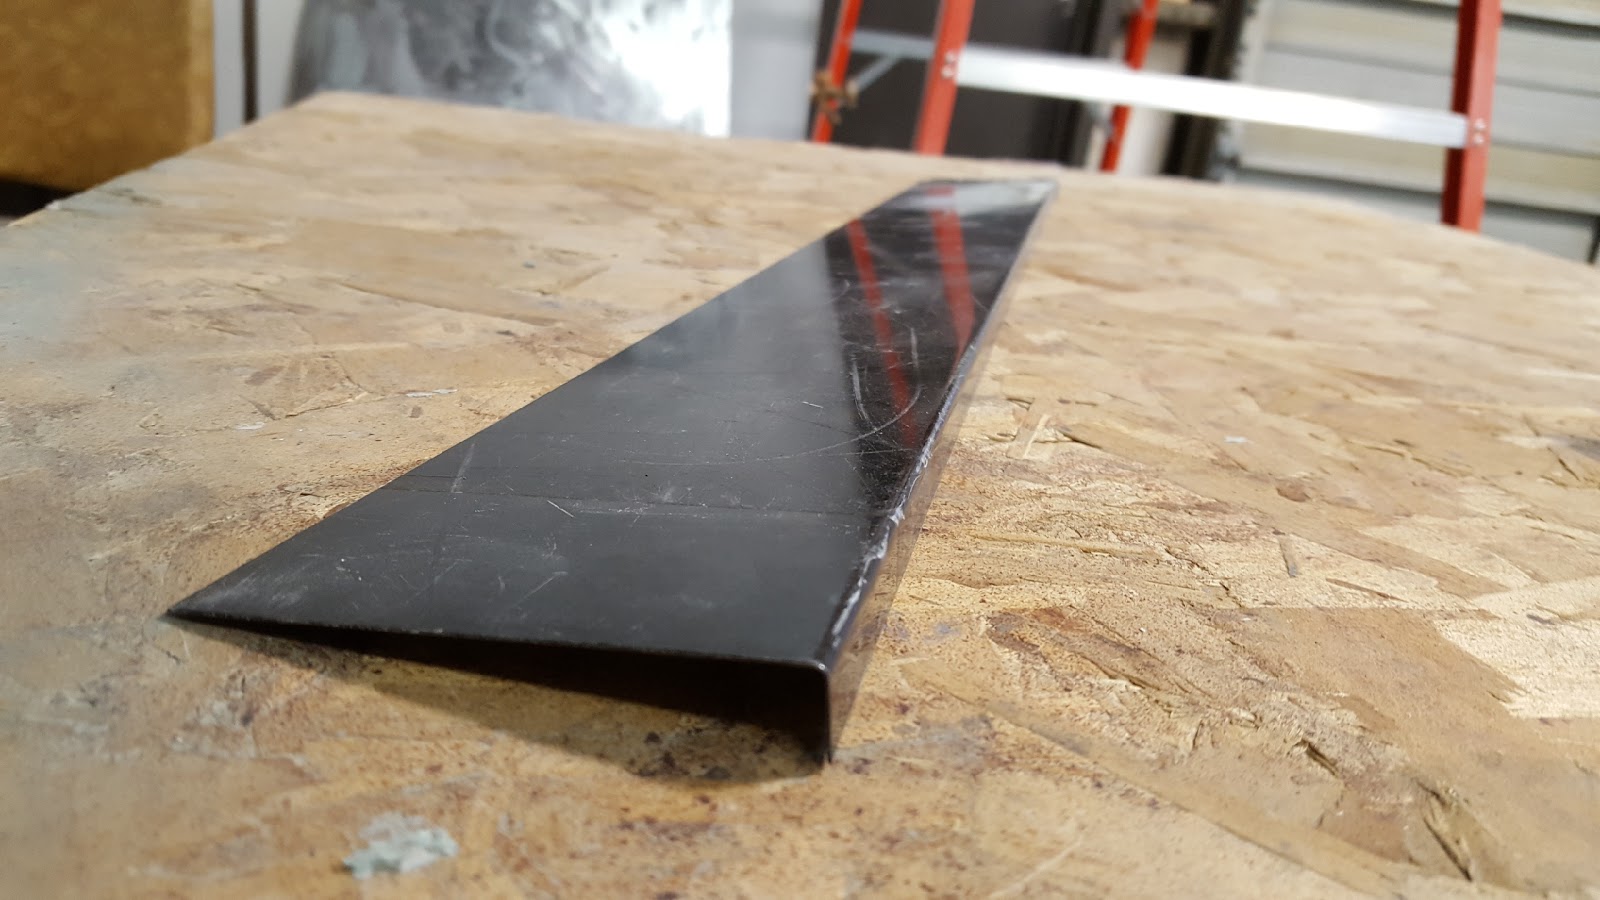
Per the prior sketch, we created pieces to enclose the back side of the rocker.  Here's the inner sill:


The inner sills were attached two ways - automotive adhesive on the top edge which slid between the beam and the remnant of the prior inner sill, and then welded to the beam itself.  This should work awesome.

Then Nick formed the inner pieces to complete the boxing in behind the inner sills, here's the blanks he created:


Then here's these pieces welded to the inner sills.  We elected not to weld them yet to the castle rail channel by the floor yet in order to facilitate moving the inner sill in/out if needed for good rocker alignment.


We got the rocker panel installed on the passenger side top edge, looks real good with good door gaps:


Finally Nick welded up the passenger side door's typical crack at the wing window.  He used a 1/2 inch wide piece of steel about 5 inches long to reinforce the crack from the back side:


We are taking a break for the Christmas Holidays.  But the remaining list of work to be done is getting short - install driver's rocker panel, weld driver's door crack, weld trunk catch in place, then weld remaining pieces of rocker panel enclosure in place while getting good alignment of bottom of front fenders.  These words probably don't adequately describe the work being done, but essentially we are re-creating most of the traditional MGB structure while also tying everything into the beam so we think we'll have an MGB that's even stiffer than it was from the factory.

Tuesday, December 12, 2017

Prep sure takes a lot of time!

Rear wheel arch on passenger side now welded in place, looks very good:


The rocker panel had been welded in but we took it back out to get better access to repair the jack point plus inner panels needed.  Here's what it looks like without the rocker in place:


In prior posts I have mentioned the larger structural member (let's call it a beam) that had been put in place by someone in the past.  It's very hard to describe in words how this works, so I created this sketch comparing the factory configuration and the present condition on this car.


By the time we are done the entire area will be enclosed (like it was from the factory) and will be much more resistant to corrosion structurally because the structural component is 0.205 inches thick, versus about 0.035 inches in the factory version.  None of this will be evident from outside the car.

We also had to reinforce the jack points, Nick did a nice job on his welds on this part:


The prior version of this piece had bent when the car was jacked up because the thicker area at the top of this picture had two 90 degree bends in it, very poor approach.  Nick removed the entire jack point assembly, cut the thick bracket in half and re-attached it without the two 90 degree bends and welded the entire assembly back in place on the car.

We are using a large replacement panel on the driver's side rear fender to repair the wheel arch.  When removing the material we will replace we found a good example of the aluminum sheet material that had been stuffed between the inner and outer fenders prior to slapping body filler into the gaping holes in the wheel arch.  Glad we are able to fix it right this time.


Friday, December 1, 2017

Good Start on Welding and Metal Work

Nick spent a half day with Vince today.  Got driver's side fender done, here's a pic of the fender with the patch panel area removed (that's Nick too):


Then here's the finished fender, looks really good.


Vince used the small air powered cutting tool to remove passenger side rear fender arch from donor 1/2 car:


And made the opening for where this will go on the project car.  We left 3/8 inch more material on the project car and will form a flange on the car so the joint overlaps.  If you look real close at the left side of the picture you can see I got a couple of hits in with the flange former.


Tuesday, November 28, 2017

Having Fun with Body Filler and Hammers and Sheet Metal

I noticed we had not mentioned again the stiff steering.  Ray pumped grease into the kingpins and the steering works fine!

Patch panels were made for the non visual areas that needed help.  The material used is left over refrigerator door stock from my prior employer, Whirlpool, which we rcd from Evansville Sheet Metal:


Even did a little "CAD" or "Cardboard Aided Design" to make the inner fender patch panels.  This type of CAD is a frequent reference in the Project Binky series of You Tube videos, which I highly recommend.  Here's a series of pictures of the repair on the driver's side inner fender.  First the as rcd picture:


CAD design of part to cover the rot:


Patch panel in place after automotive adhesive and pop rivets:


Here's a picture of the automotive adhesive we are using:


After application of POR15 antirust paint:


Finally, after initial spraying of undercoating, hard to even find the repairs:


We think this turns out pretty darn well, completely hidden after the final coat of undercoating.

Meantime Ray has been having fun with the body filler.  We are using fiberglass filled body filler for the deeper areas, then regular filler after getting pretty smooth.  Before any filler we used the hammer and dolly set to get the panels as flat as possible.  Here's a series of pictures for the rear area under the trunk lid.  First is after removal of all paint and prior body filler:


Next picture is after hammer work plus using a bottle jack to push the area back around the fuel filler neck, had to move it out about 3/4 inch:


Caught Ray in action working the body filler, he's doing a fine job:


We've minimized the thickness of all body filler:


Later this week we have our friend Nick coming by with his welder.  We've got the right rear wheel arch panel ready to harvest from our half car:


And we got donated a left rear fender patch panel that will provide at least it's rear wheel arch, maybe more:


Friday, November 3, 2017

Paint removal almost done

So the challenge is getting into pretty clear focus.  Took a series of pictures today documenting the items needing attention.  Starting at the front end, both fenders are removed and here's the rot in the inner fender area, drivers side:


Passenger side a little better, did not penetrate the inner fender itself:


Both of these areas will be repaired with extra sheet metal to cover up the rot.  Not real critical to structure, but needs to be addressed.

Then there's the rocker panel situation.  The structure provided by the boxed in rocker panels has been replaced by some prior owner or body shop by the previously mentioned piece of large, thick  angle iron.  Now that we have a lift in the shop it's easier to take pictures, you can see this angle iron in these pictures:


From measurements of deflection it appears to do a great job of making the car stiff.  Our challenge is getting it to also look right. 

The front fenders are removed, they show some challenges too:


Between the MGB GT front fender that came with the car, the two larger front fender patch panels we bought, and the original fenders we think we can come up with solutions for the front of the car.  With the large beam in the middle and replacement outer rocker panels we think we have the middle of the car covered.

Now for the rear.  Here's clear pictures of the read wheel arches:


Kinda ugly.  We got donated a rear half of a rubber bumper MGB as a source for these wheel arches, here's a picture of it, is a stalled trailer project now becoming a donor:


Then we've got the challenges at the rear of the car.  The drivers side was sideswiped, the passenger side rear was hit bu the taillight, and it appears to also have been rear ended:


A lot of these dents in the rear are coming out with hammer and dolly.  Today I got the rear lip pretty straight, now I find the trunk lid does not fit real well, it's still bent from the rear end collision.  Plus there is localized damage on the trunk lid by the latch:


Trunk lid is laying against the blue hood, we have line of sight to another hood in much better shape.

So we've got our winter project pretty well defined here.  We have a friend with a welder who will be helping us out in December, be good to get most of the welding done by early January.  Then it's bodywork (grind, beat on it, filler, block sanding, grind, beat on it, filler, sanding, etc) for the rest of the winter.  Hopefully in the spring we'll be ready to find someone to spray a nice smooth car for us at a reasonable price.


Friday, October 20, 2017

What's lurking under that awful paint?

We started the process of removing paint.  As suspected, we definitely have some challenges on the rear wheel arches.  We did not expect though to find significant body damage to the passenger rear fender by the tail light:


We also found the car had been side swiped on the drivers's side, impacting the front fender, door, and rear fender:


The driver's door looks like we can hammer it out and use a very thin layer of filler.  We have a patch panel for the front fender.  But the damage to both rear fenders, including the arches, is troubling and could be expensive for patch panels and/or take a lot of time to fabricate patches.  We are looking into options to address these concerns.

Monday, October 9, 2017

Got it running!

I think we found the reason for no spark - pulled down on the little carbon brush inside the distributor cap to make better contact with the rotor and then had spark.  Not completely sure, because as usual we were changing several things at once.  The car now has a good used set of points and condenser in it, plus we replaced the dainty wire inside the distributor (prior owner had used a thick wire which limits the movement of the timing advance mechanism).  Later we will likely put in all new parts for ignition to complete a full tuneup.

Here's a video of the car on it's initial run after being dormant for a long time.  Never did get the time period completely straight from the prior owner, could have been 20 years or maybe even 40.


The engine ran amazingly well.  Idled nicely, no smoke, valve clatter normal.  Good oil pressure, almost 40 psi at hot idle, and temp gauge read normal levels.  Clutch and transmission both seemed to work just fine.  The one glaring need is the steering has a huge amount of drag, I suspect the kingpins are almost frozen.  Looks like we will get to do some front suspension work.